Here’s a step-by-step guide of Ottilie and I making the Father’s Day Crate Kit. Happy crafting!
Prep:
Grab some old clothes or an apron and have a wipe or old towel at the ready!
Here goes…
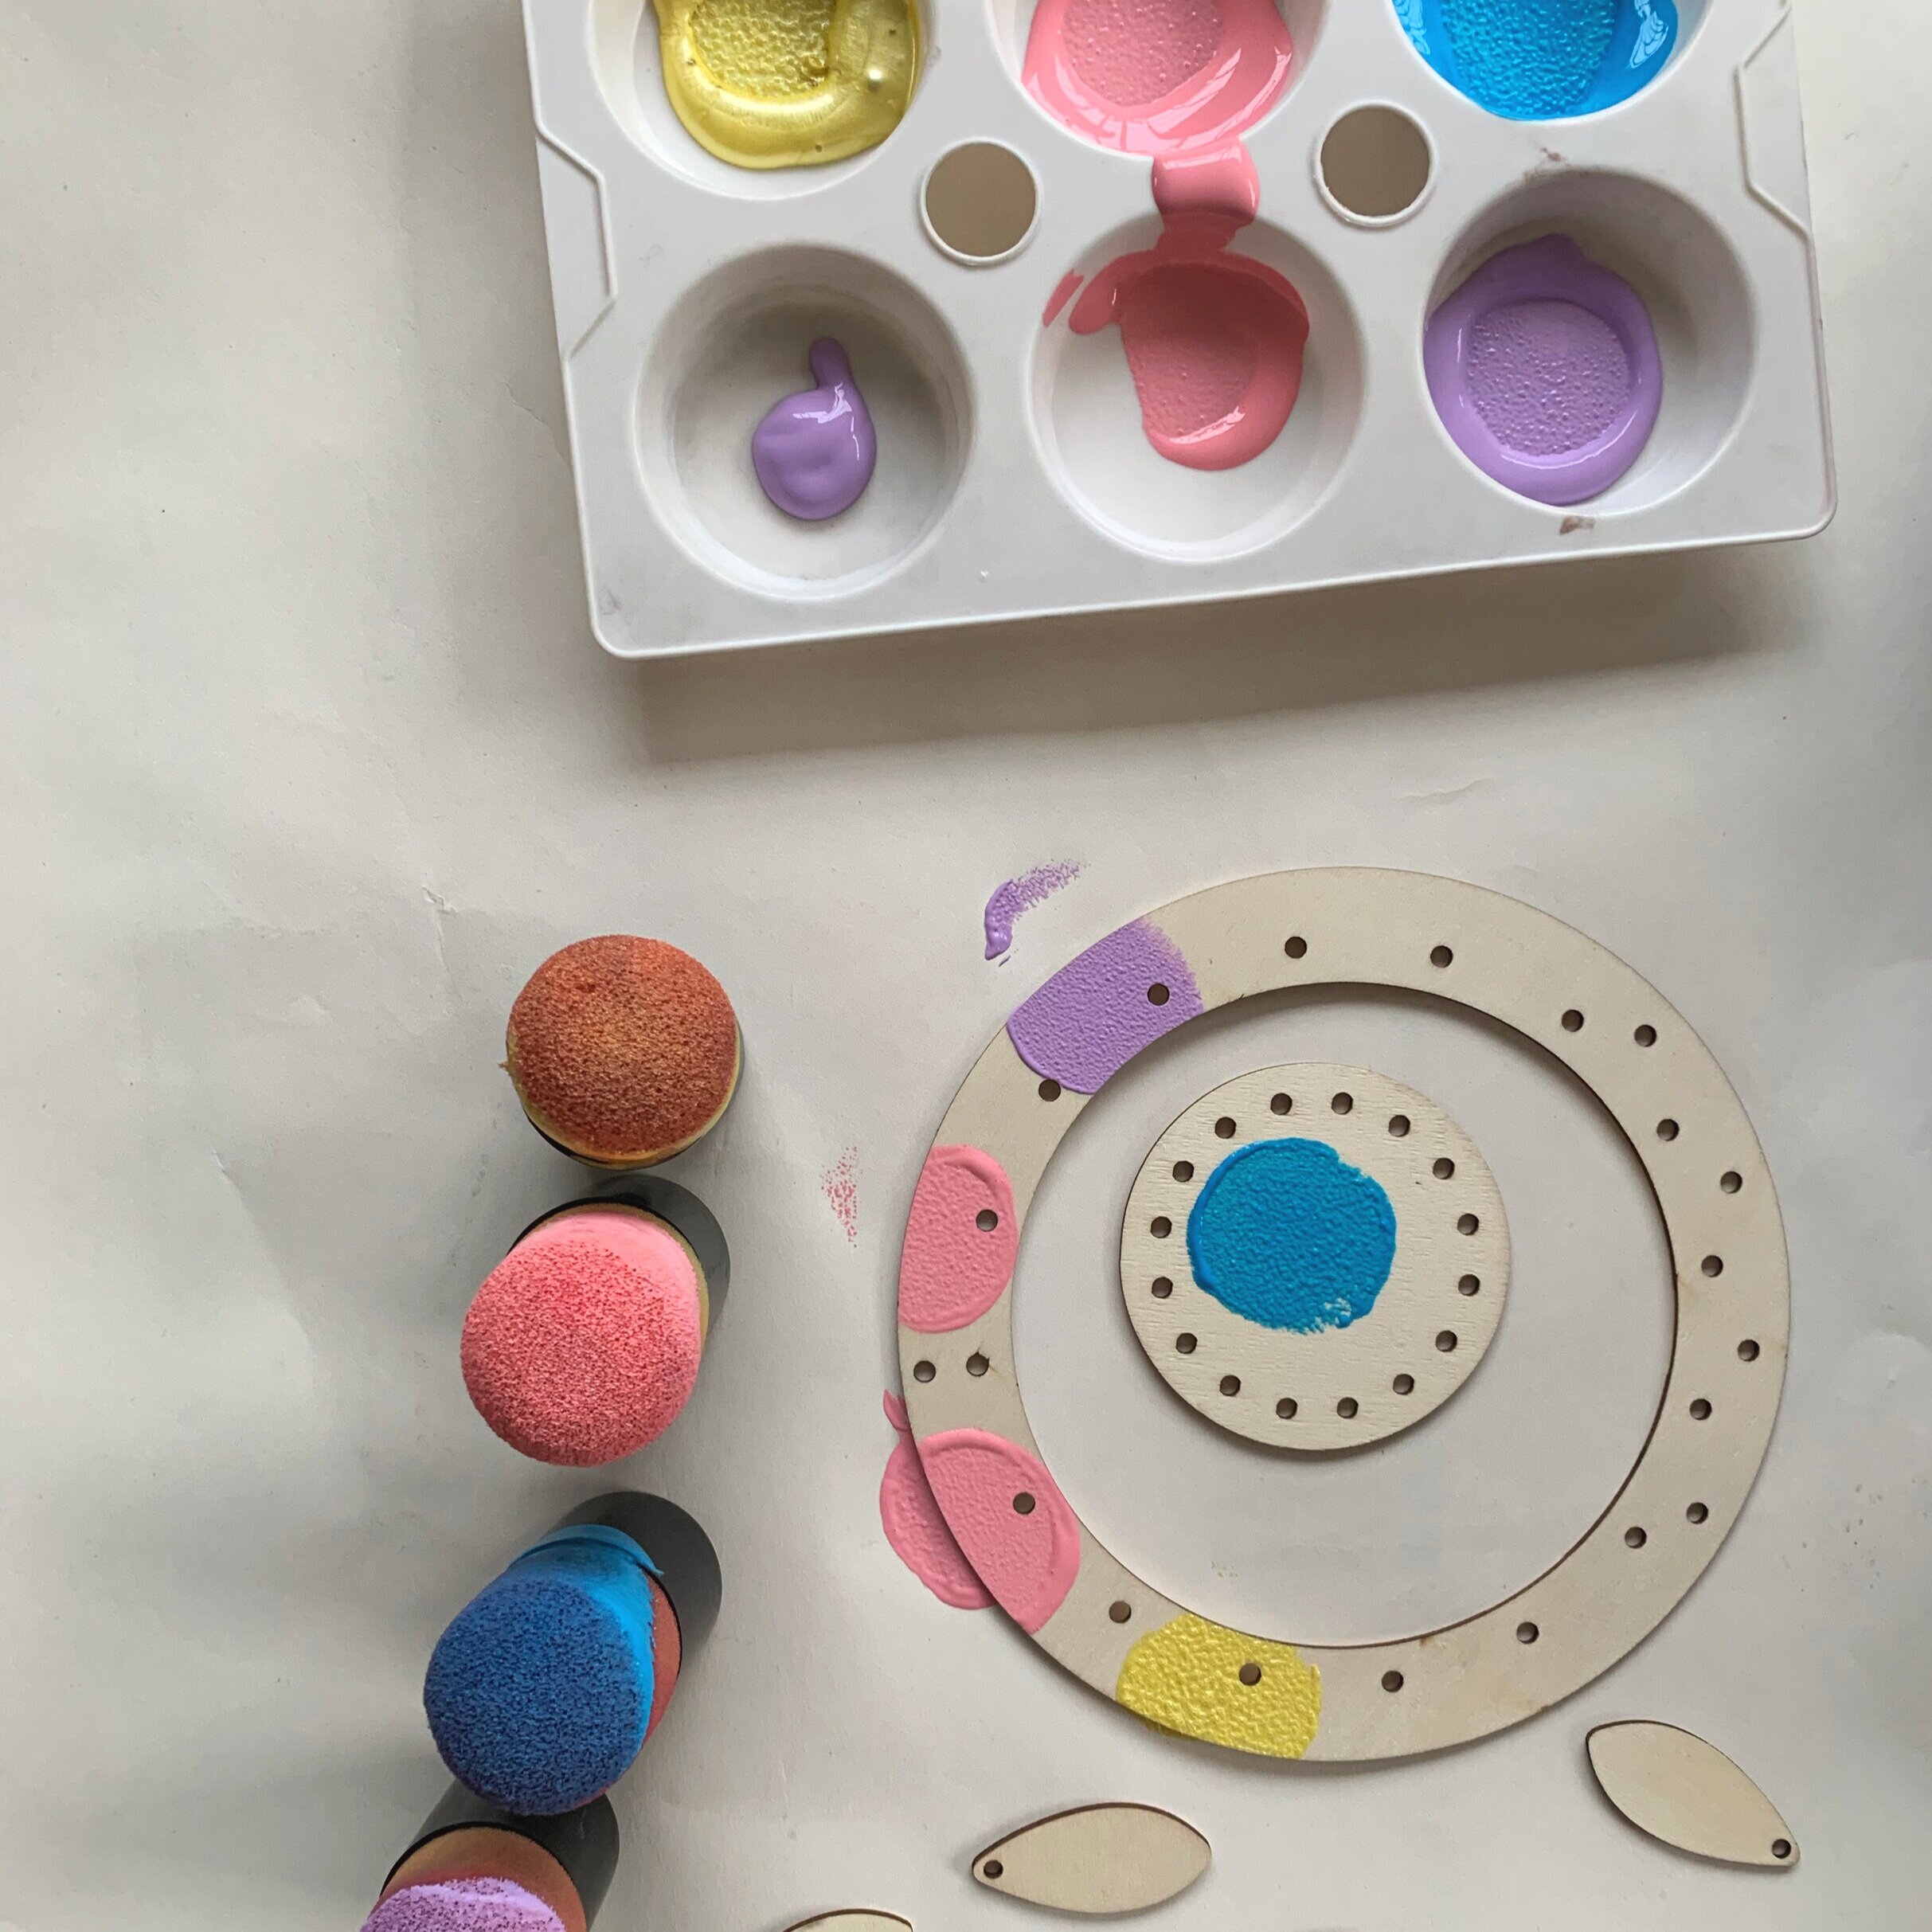
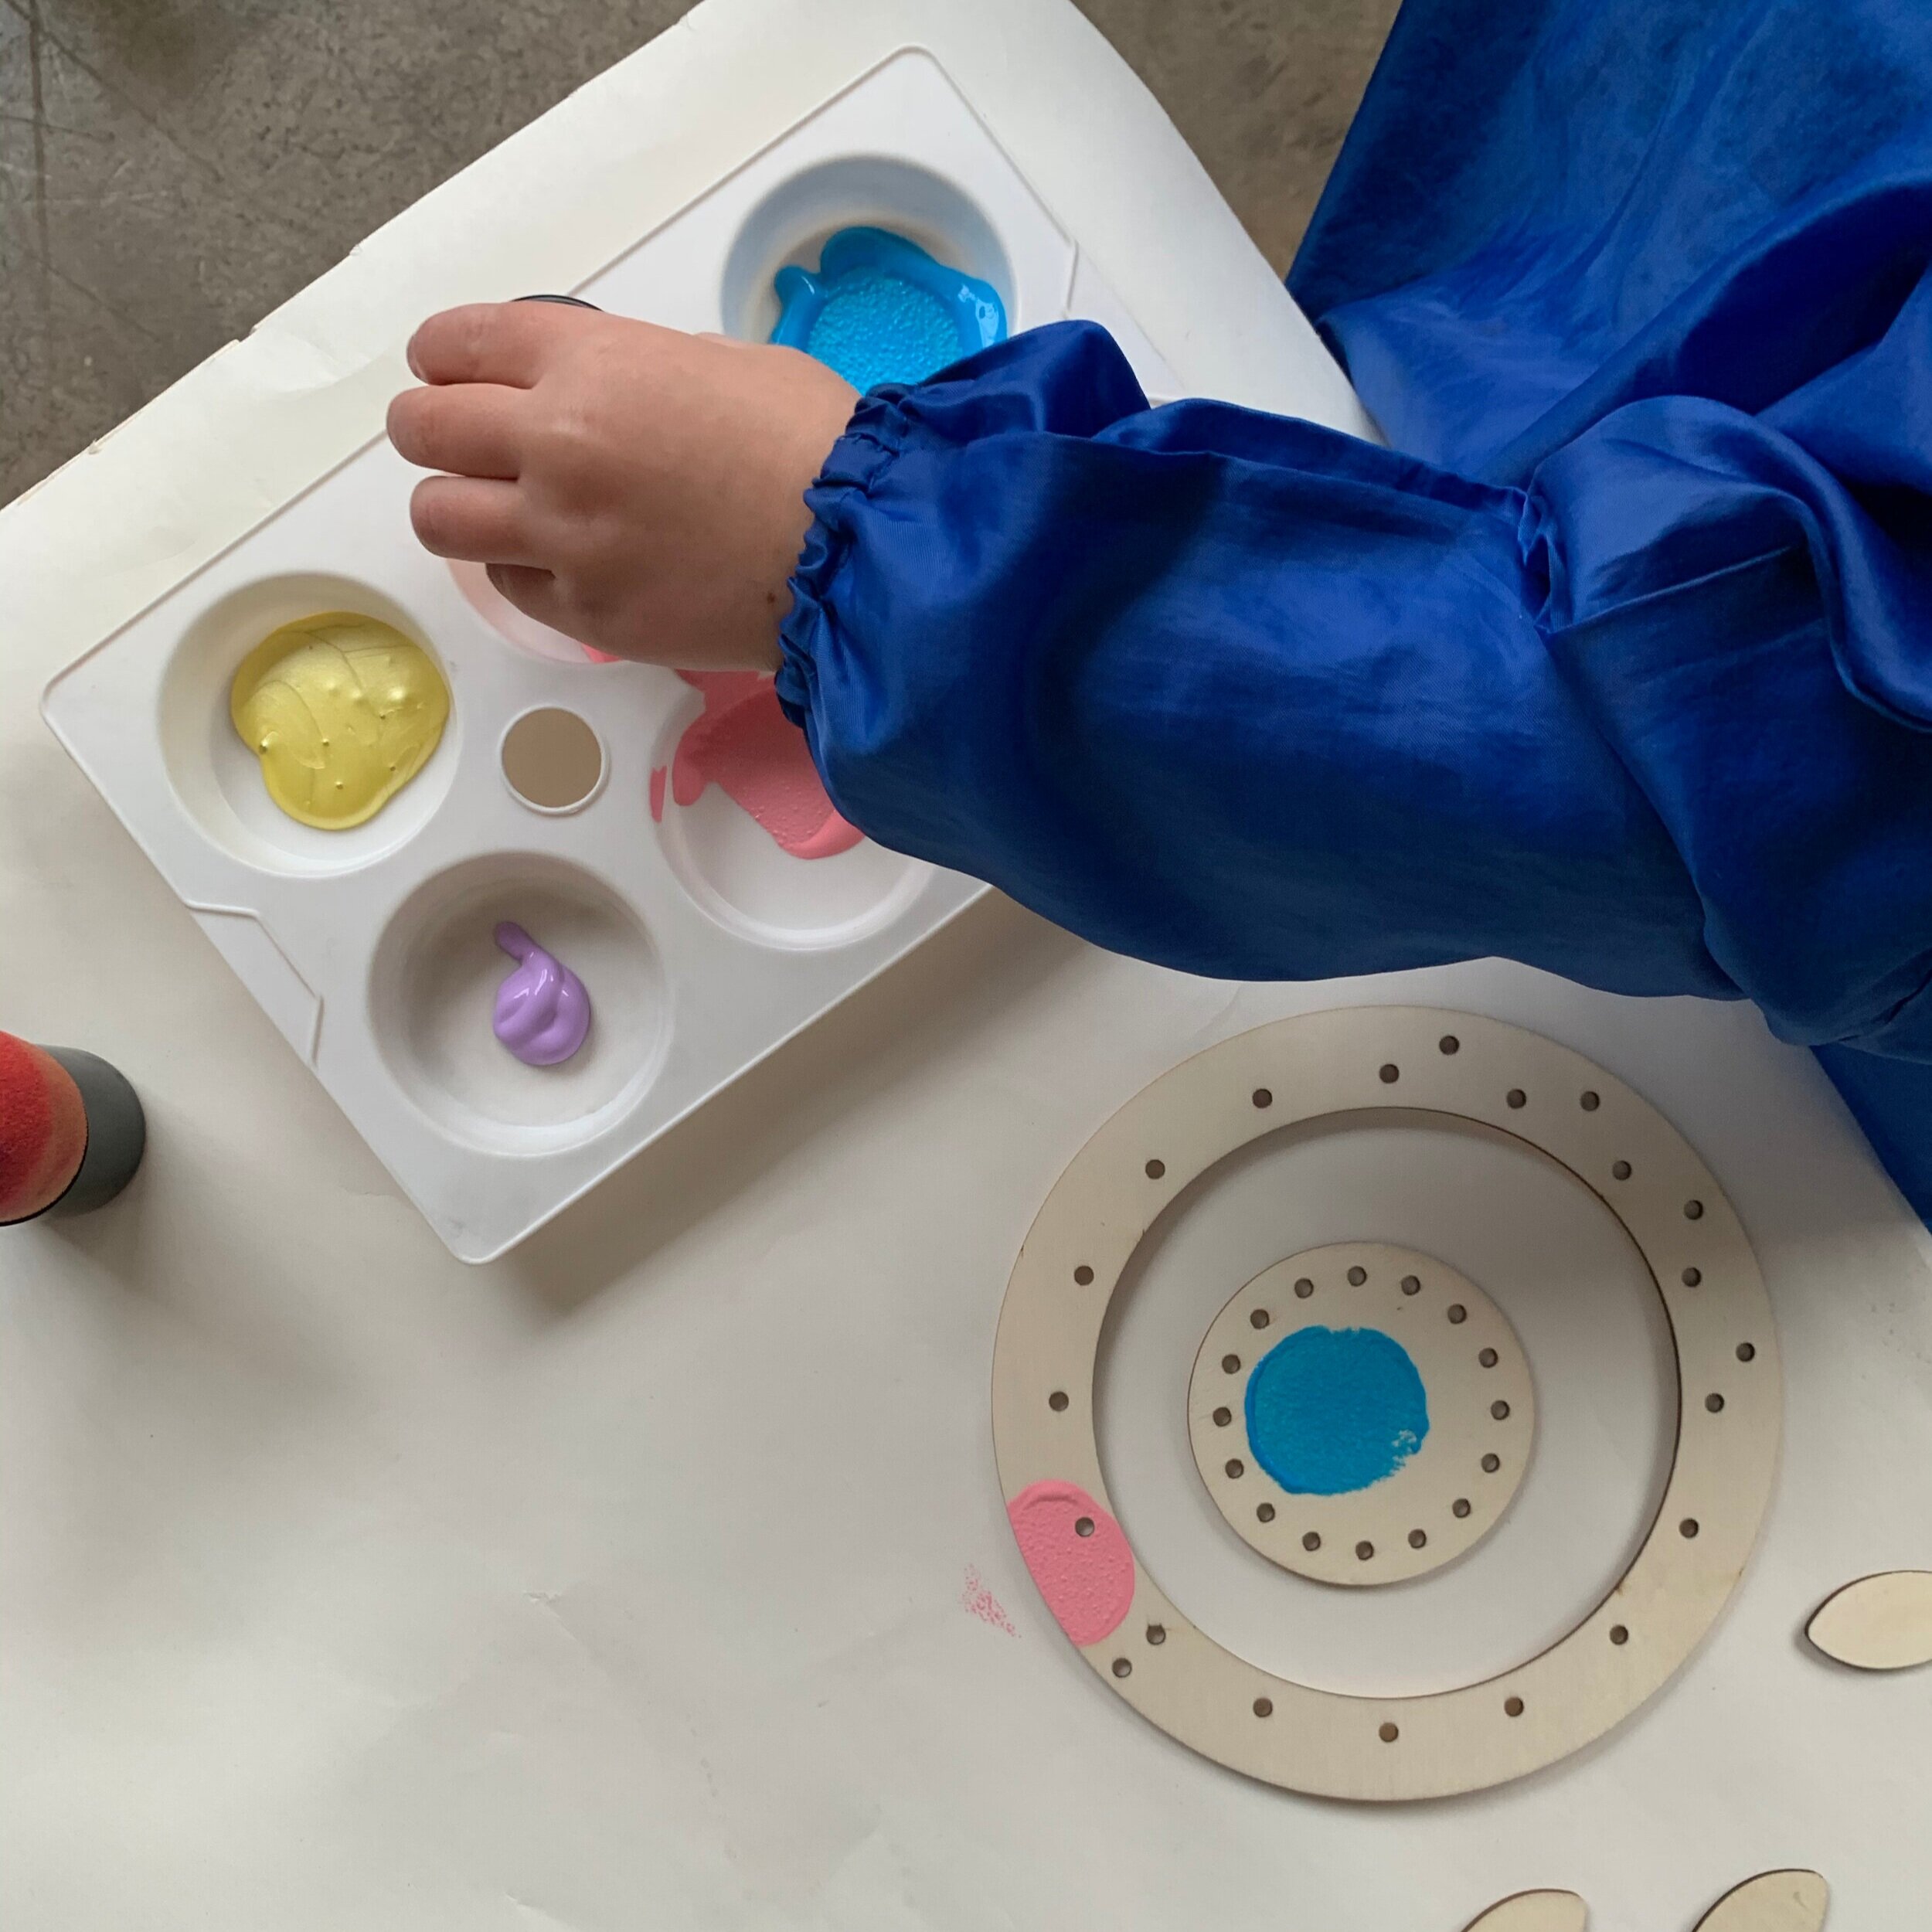
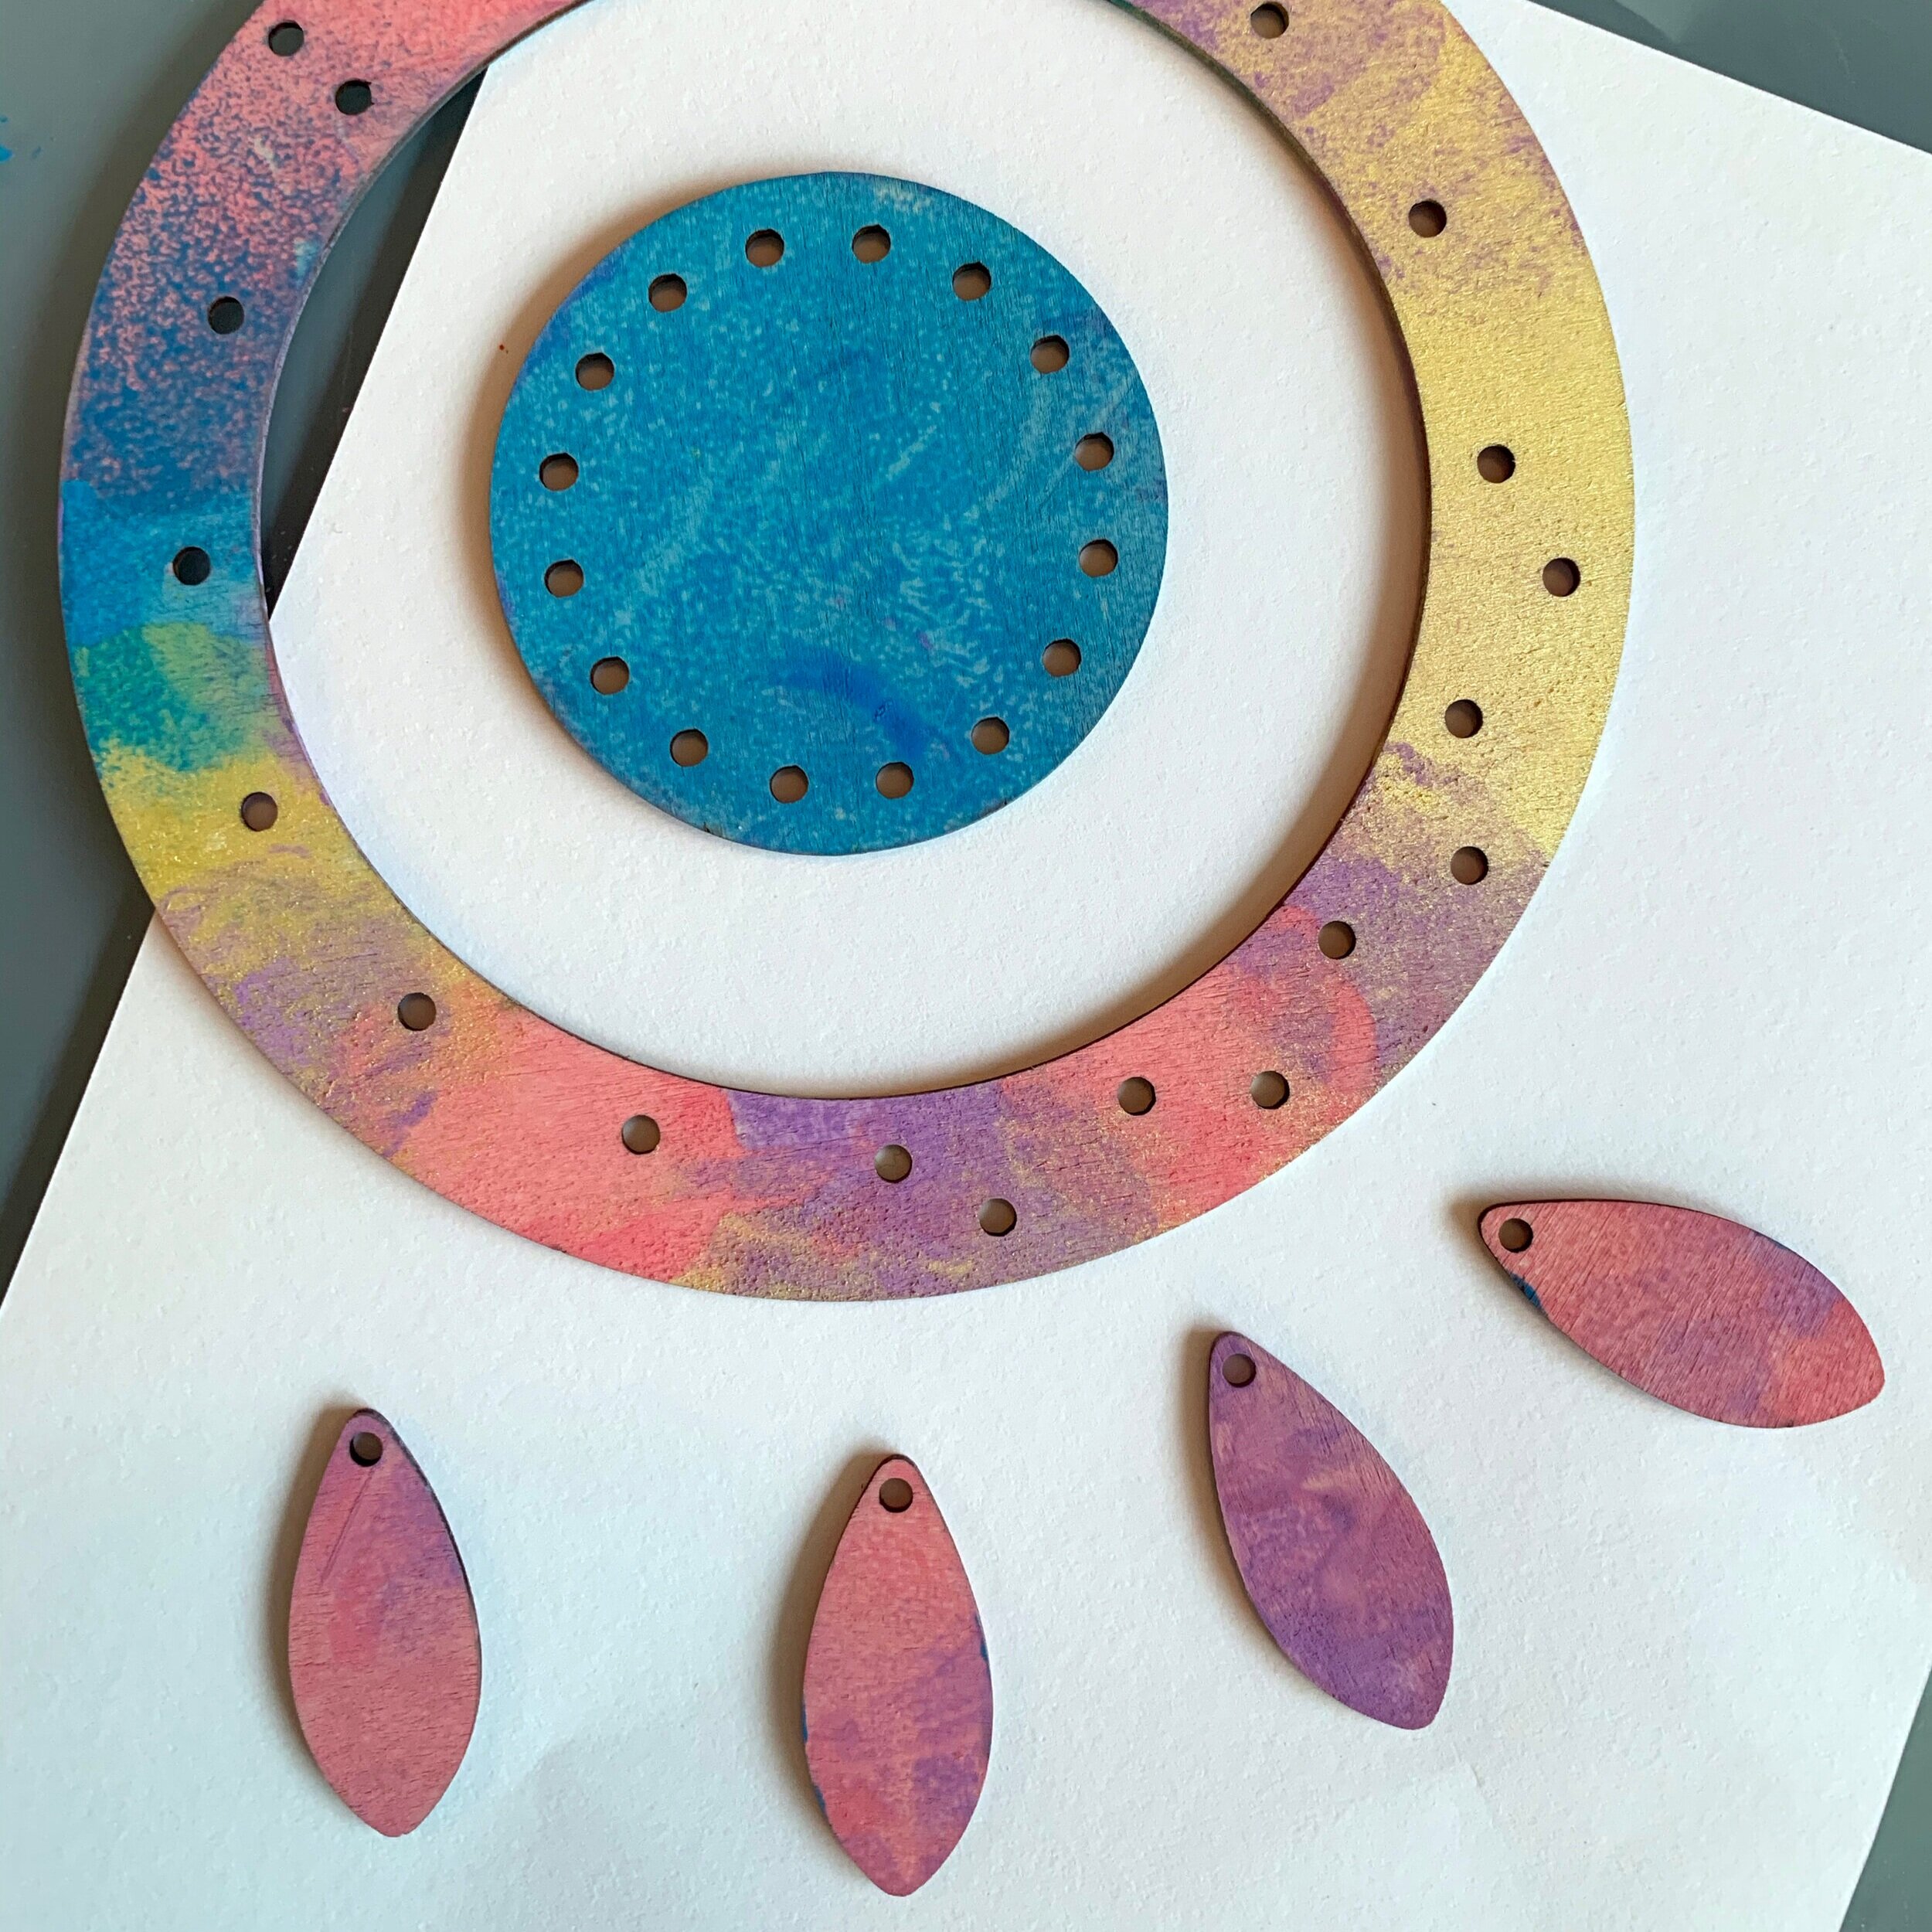
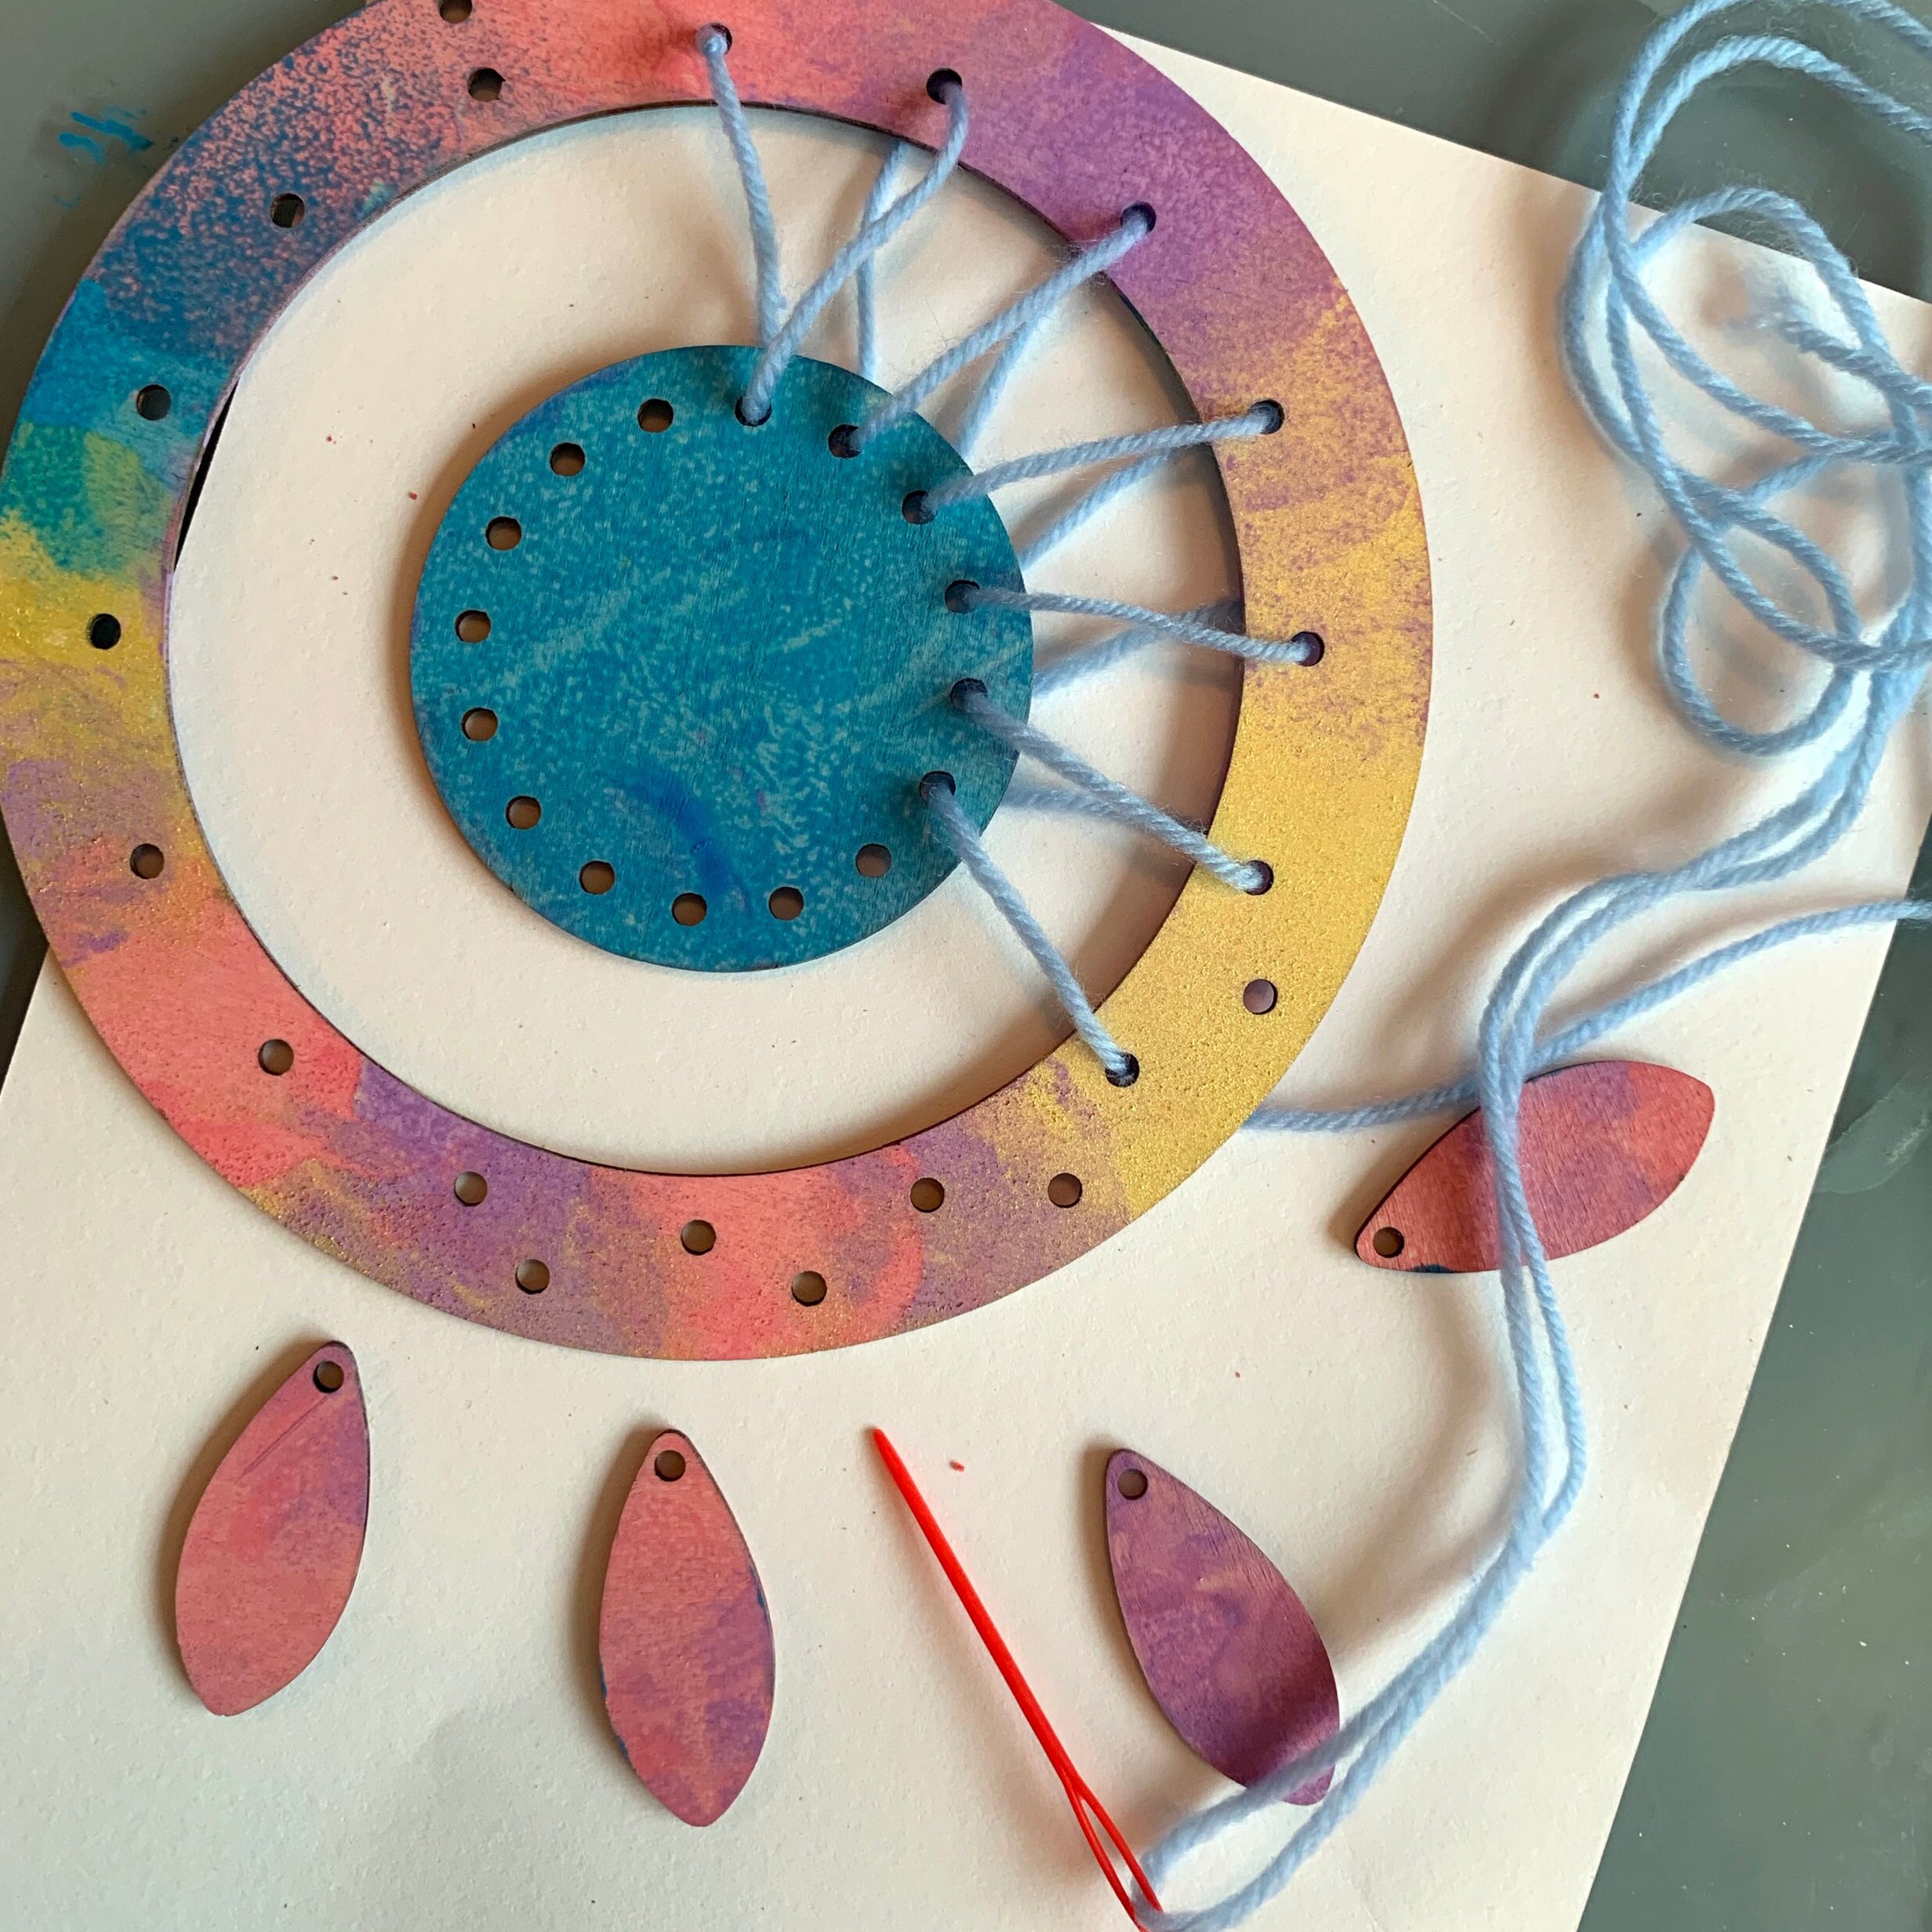
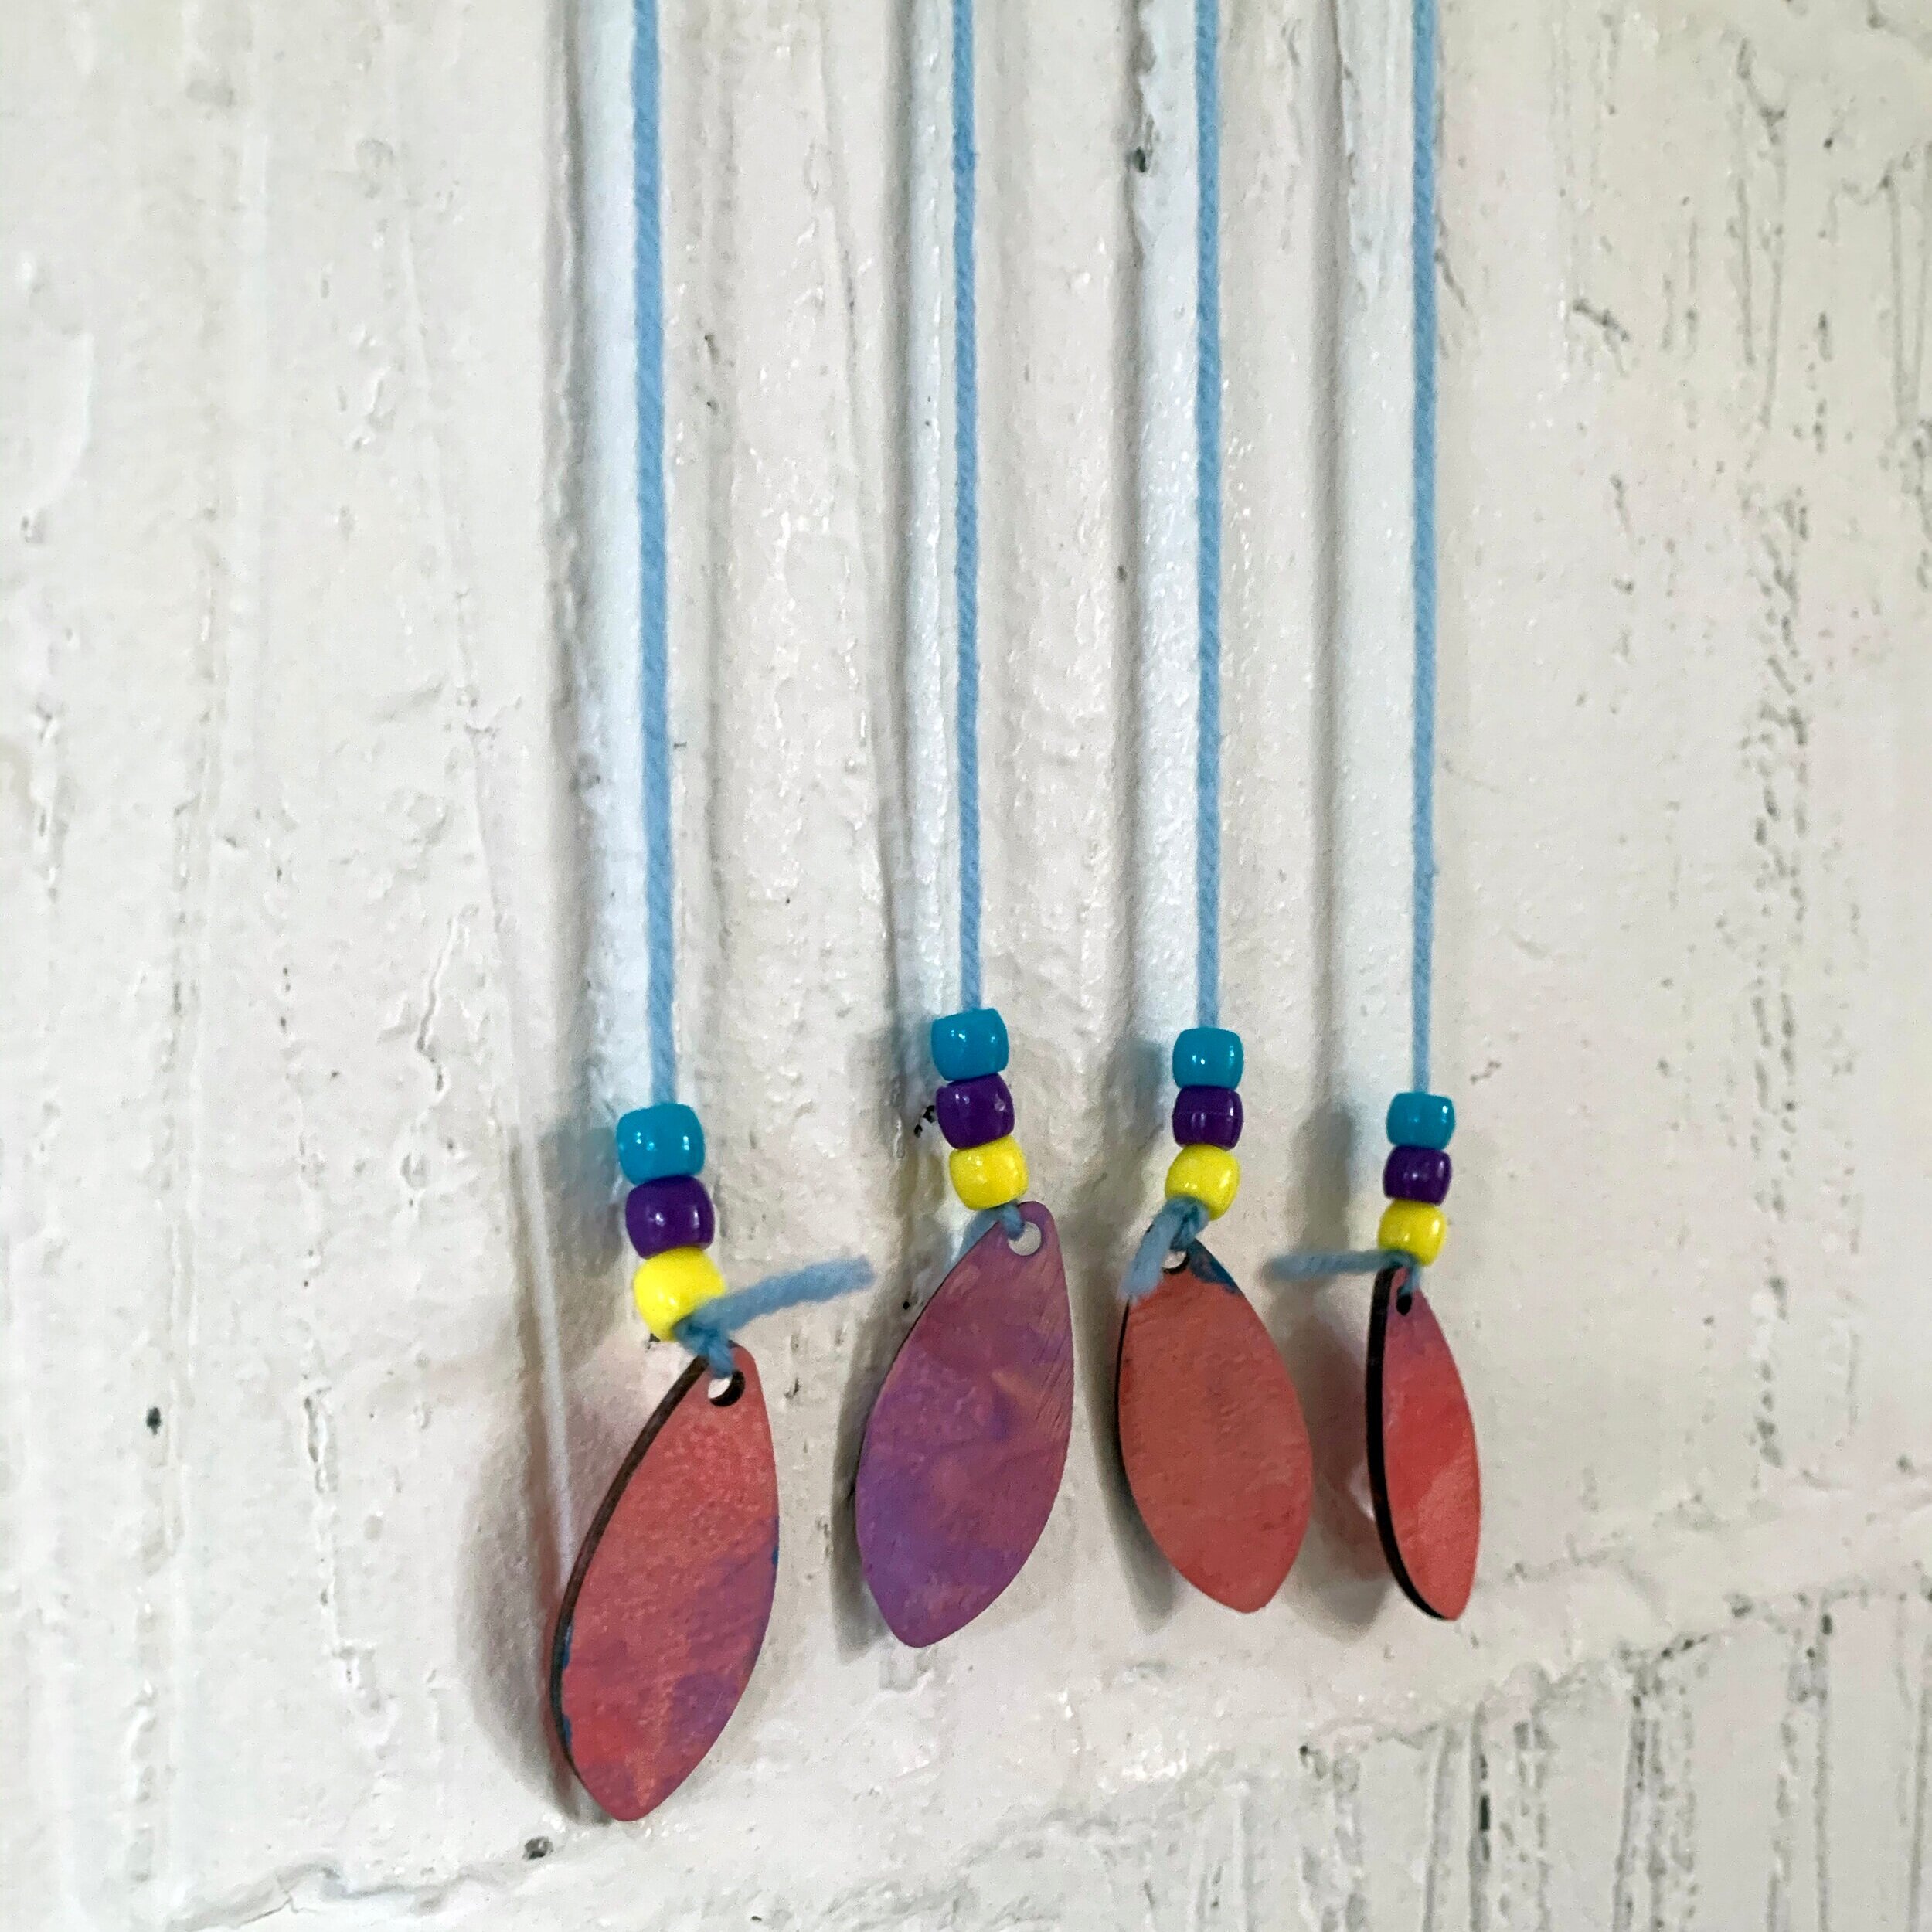
Then open up the paints and paint all your crate pieces, both sides! Wait for them to dry them slot them together like this…

1. Take the long pieces with the grooves and slot them into the base (the biggest piece)

2. Take a side piece and slot it on to the end of the crate
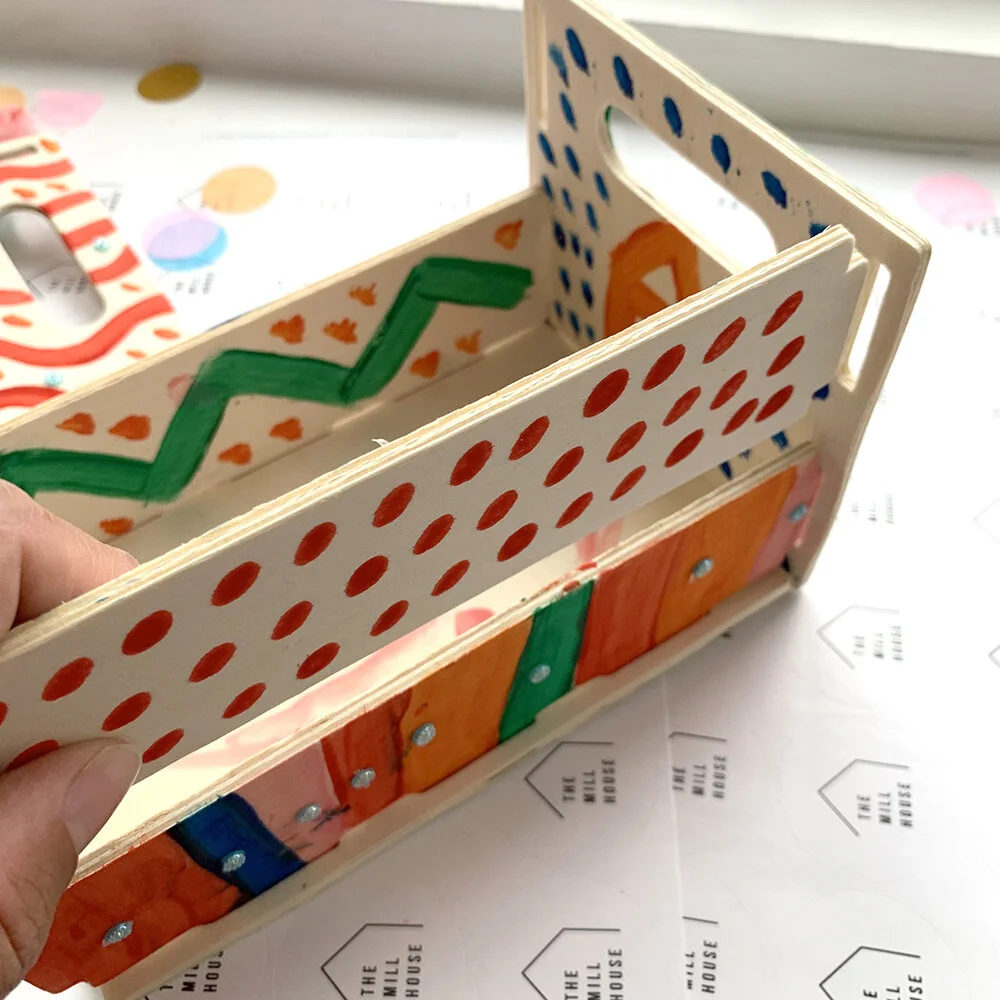
3. Take the other two sides and slot them into the end piece

4. Add the other long side, gently rest them in place and grab the final piece

5. Push the end piece on, wiggly the side pieces in to place. It may take a couple of go’s to slot it on. Then give it a good tap into place and there you have it!

6. Drop in your gift and hand made cards and ta-daaa! If you find a slots are a little loose you can pop a little bit of glue into the slots to keep it together