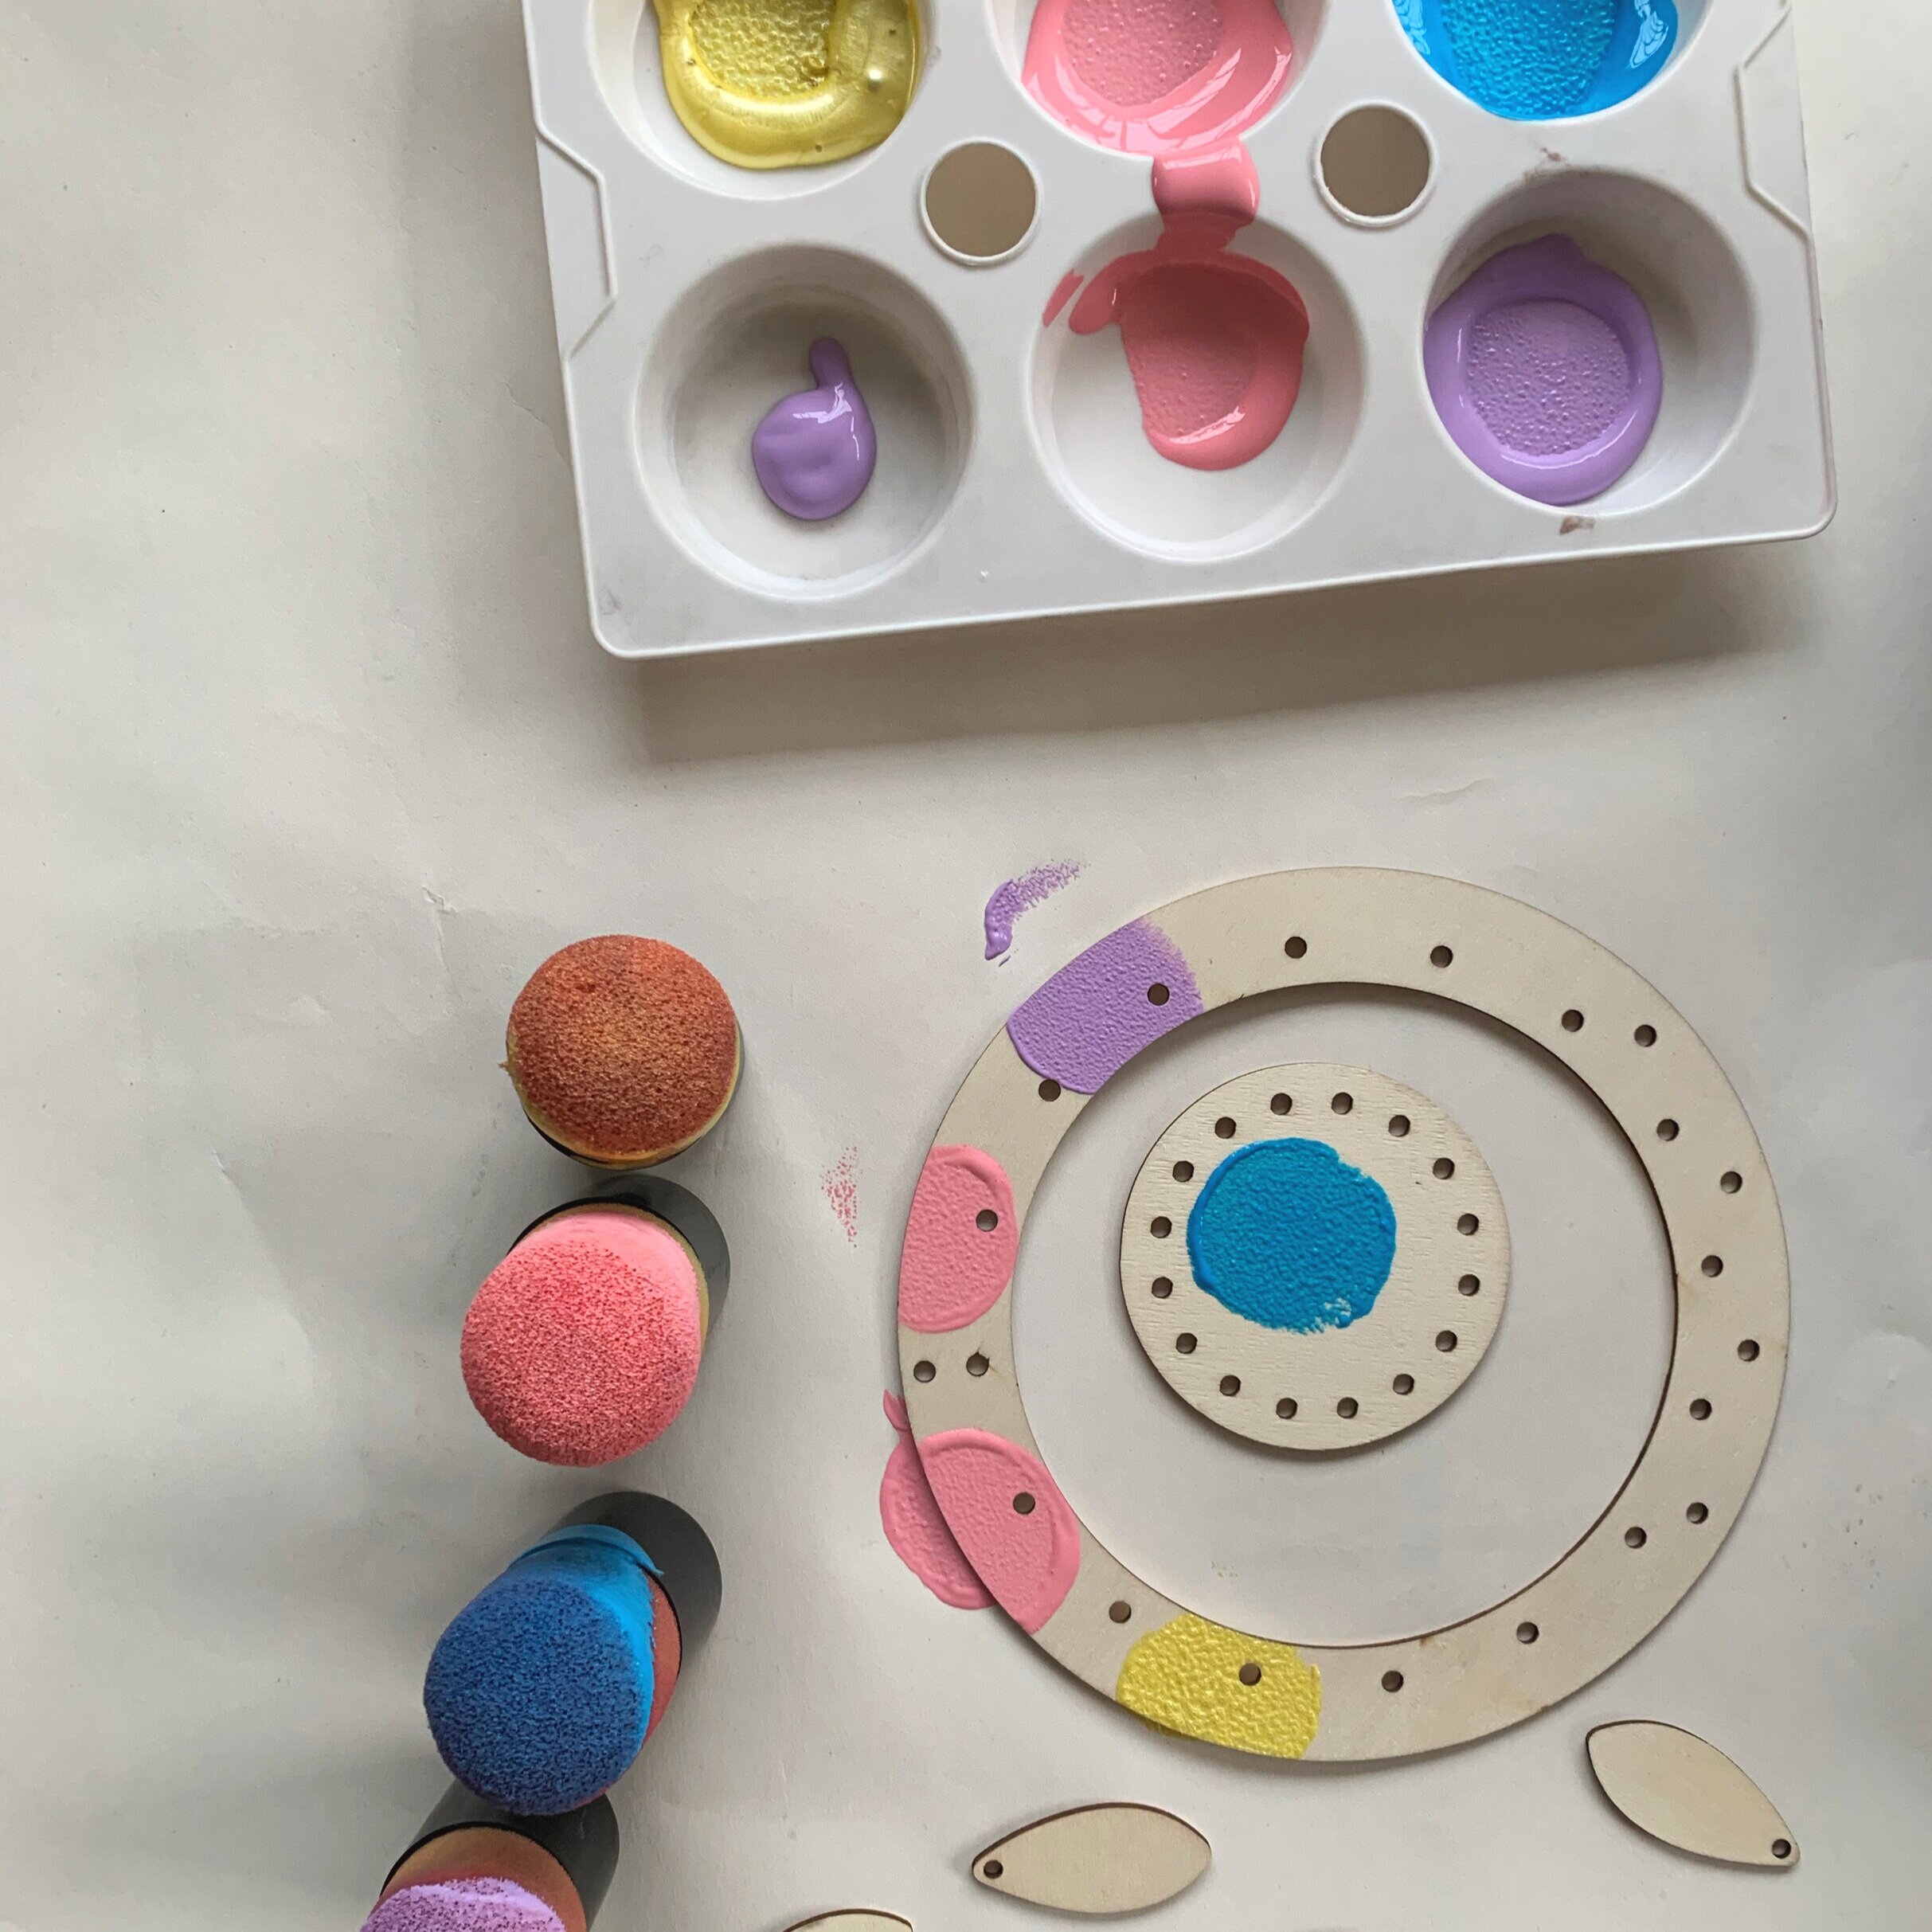
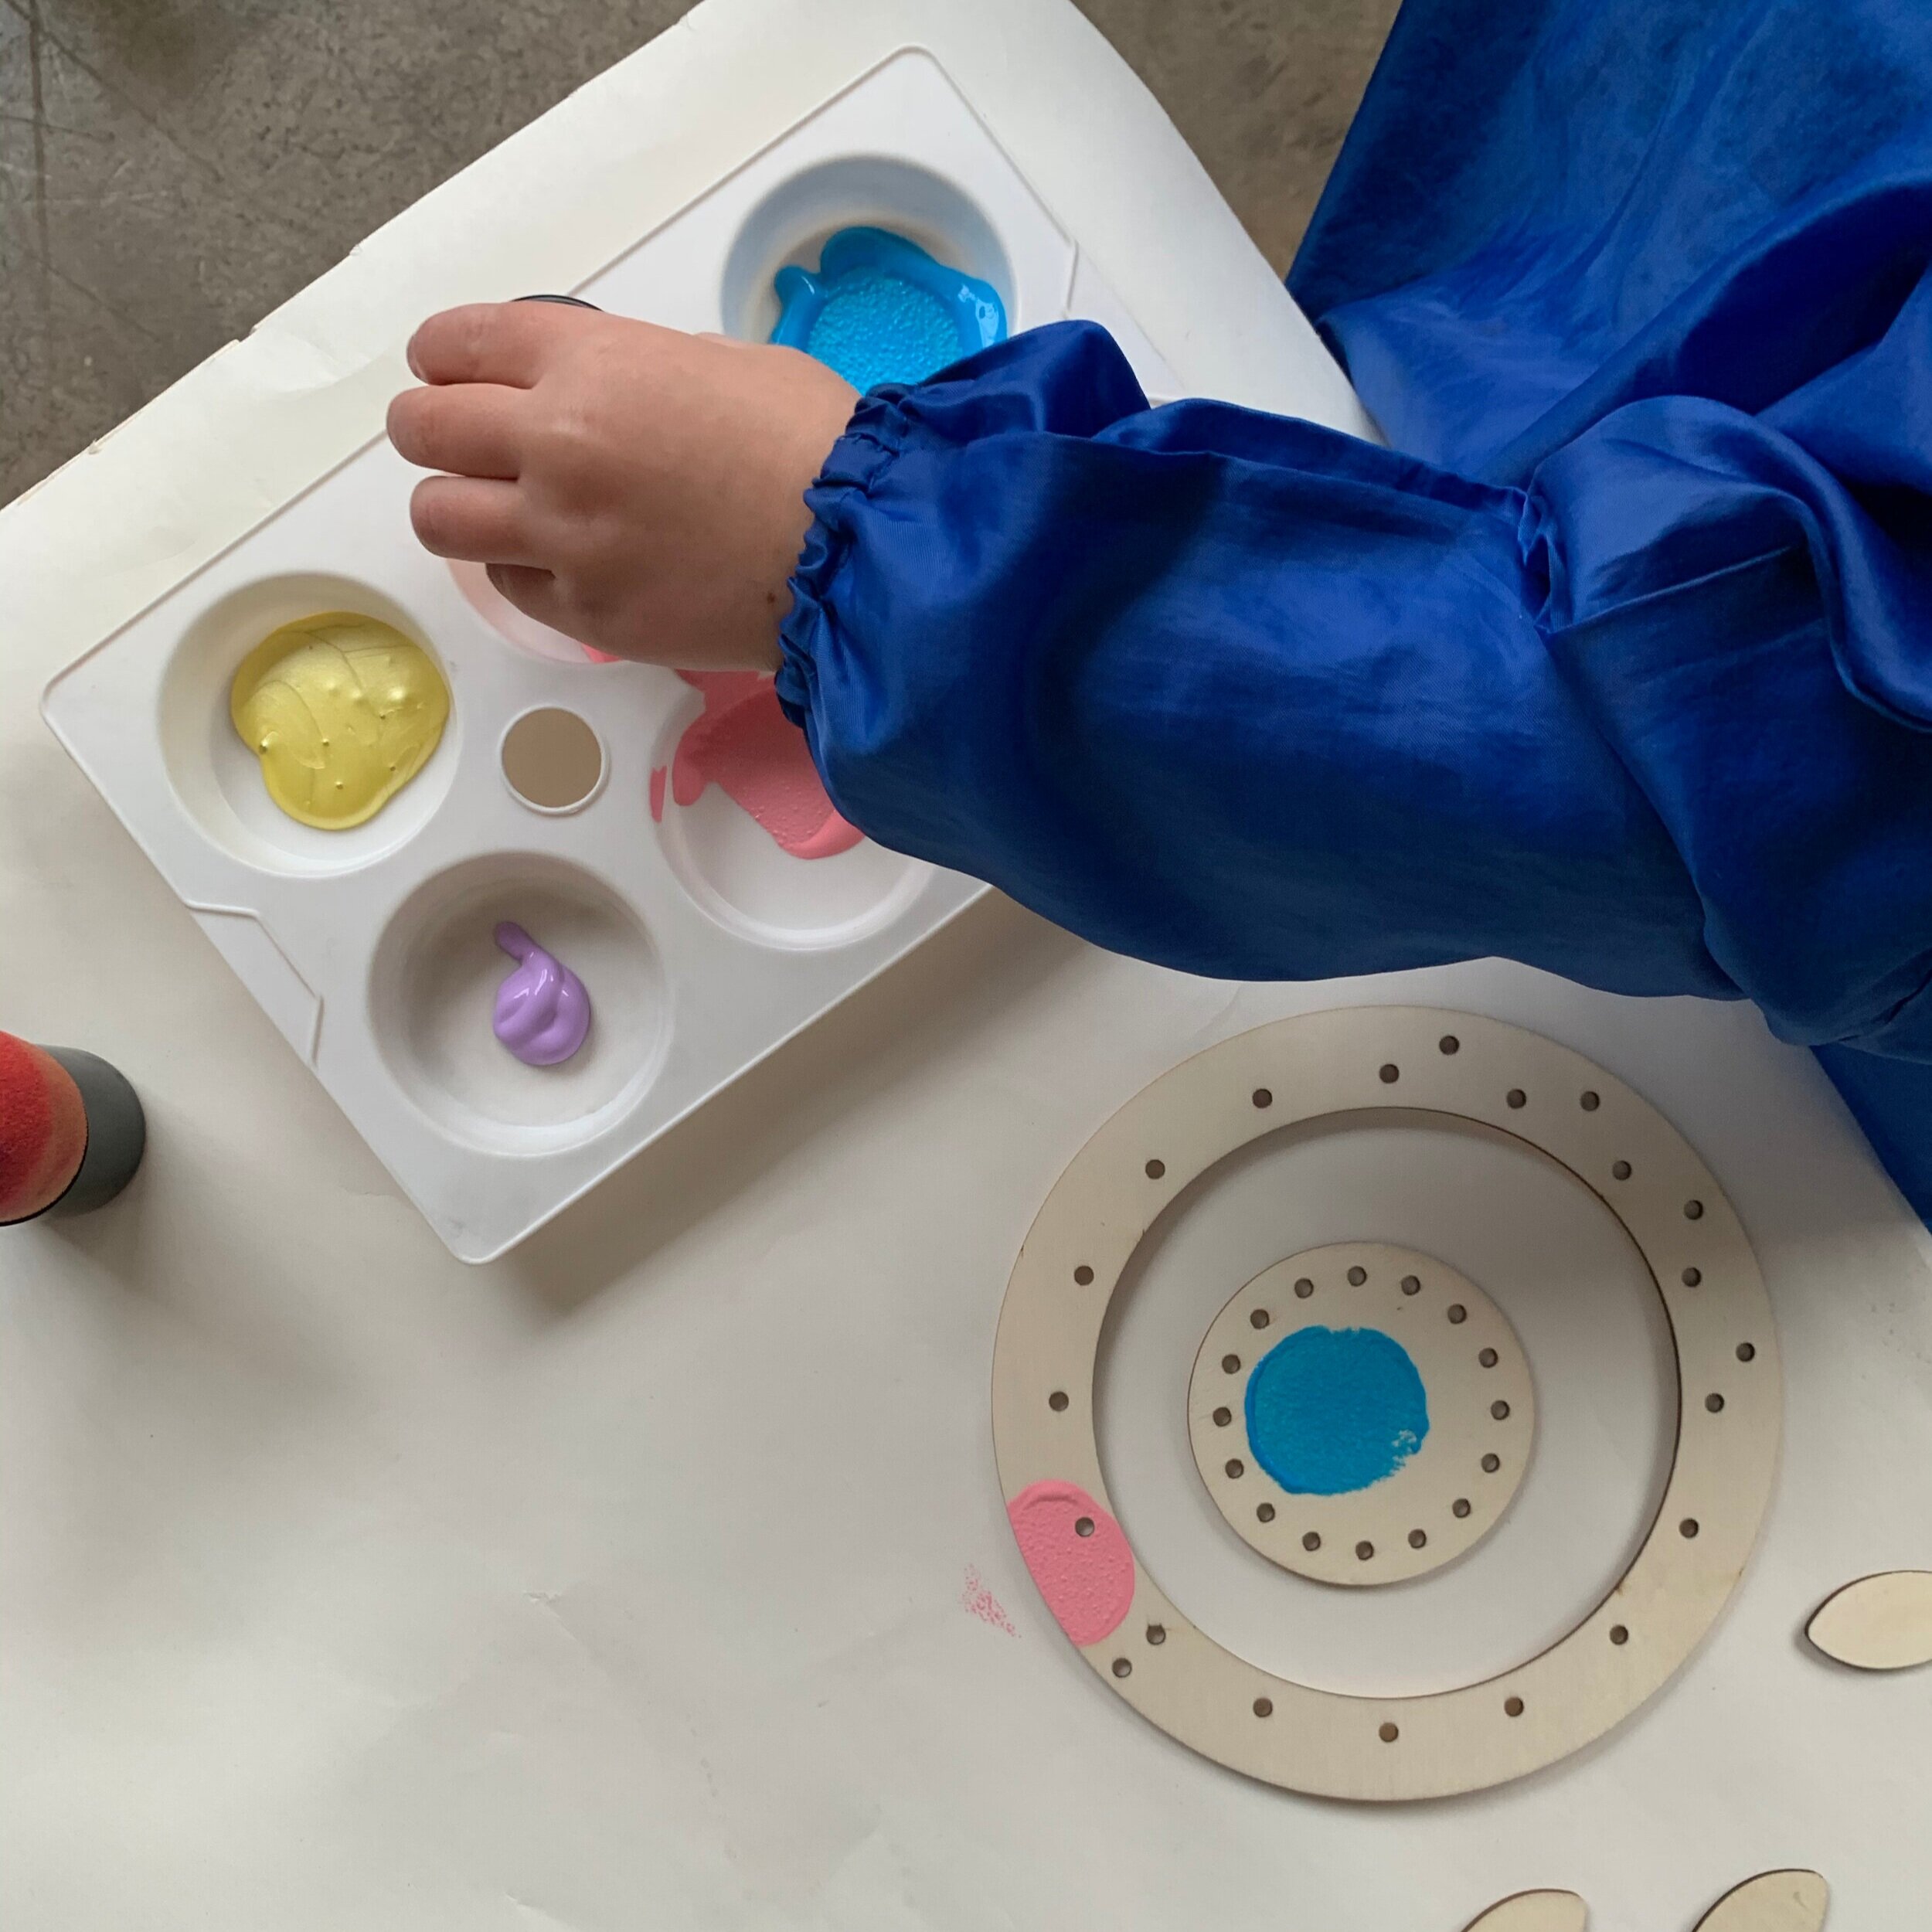
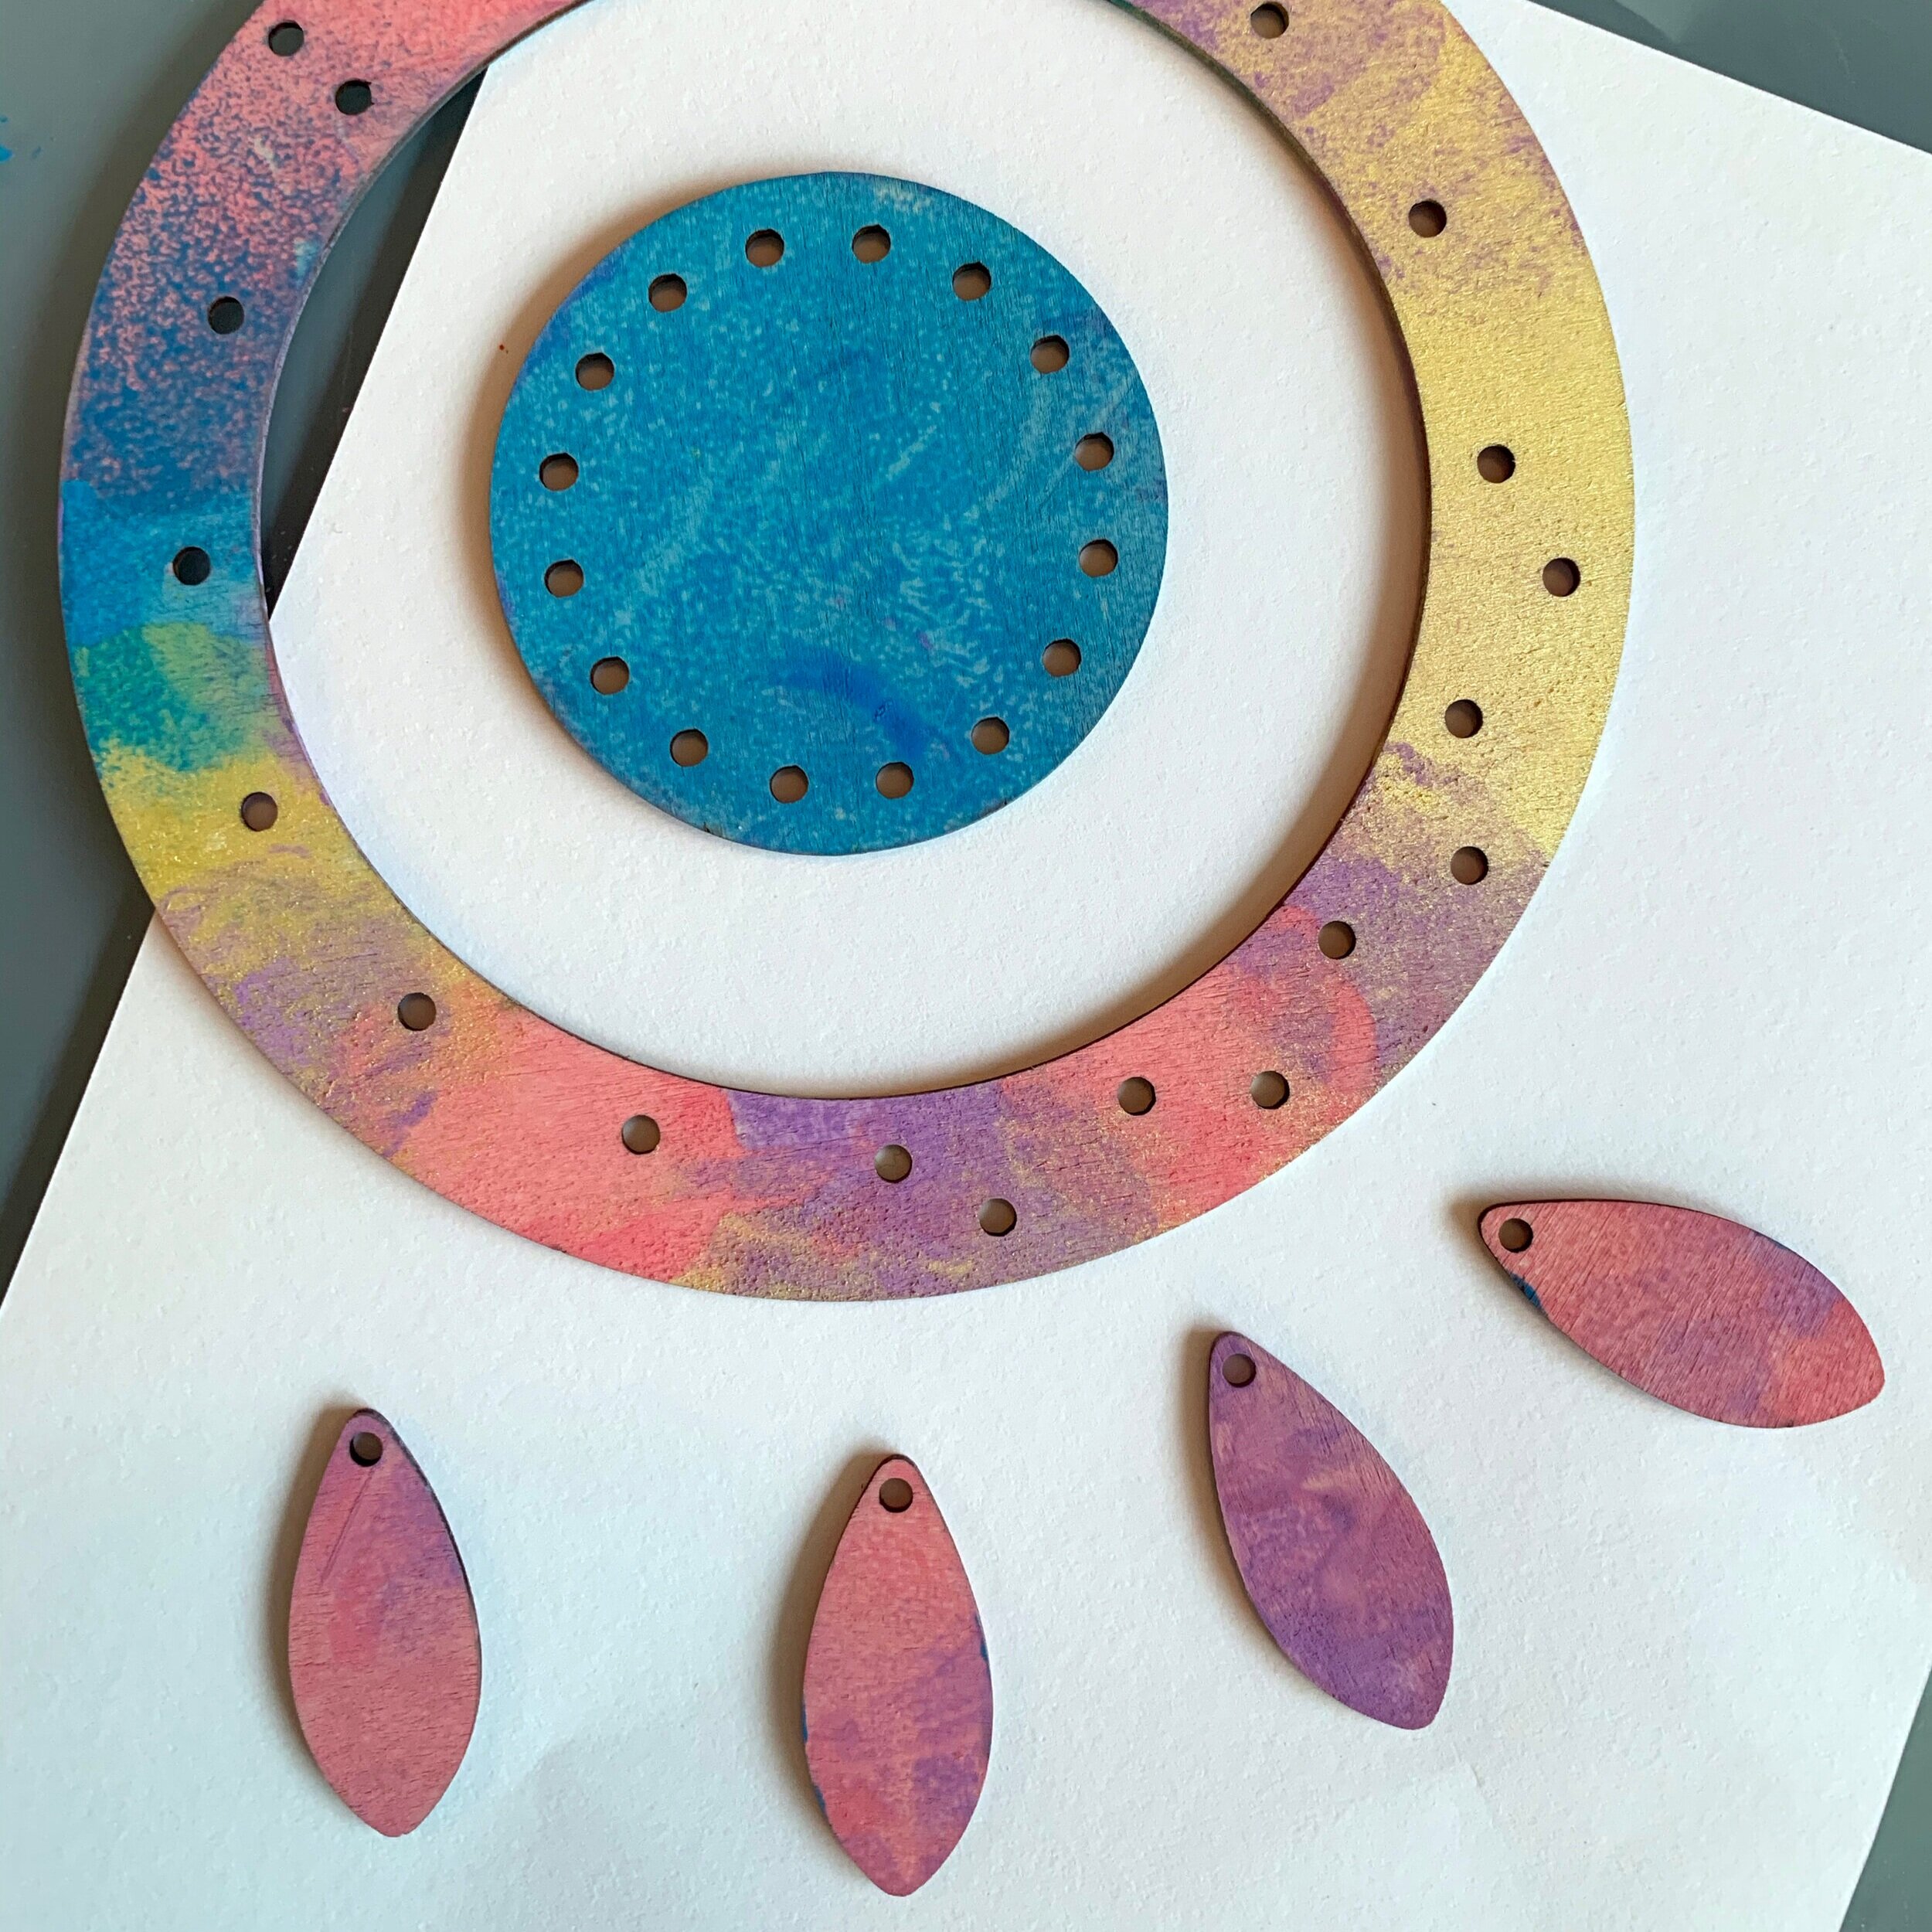
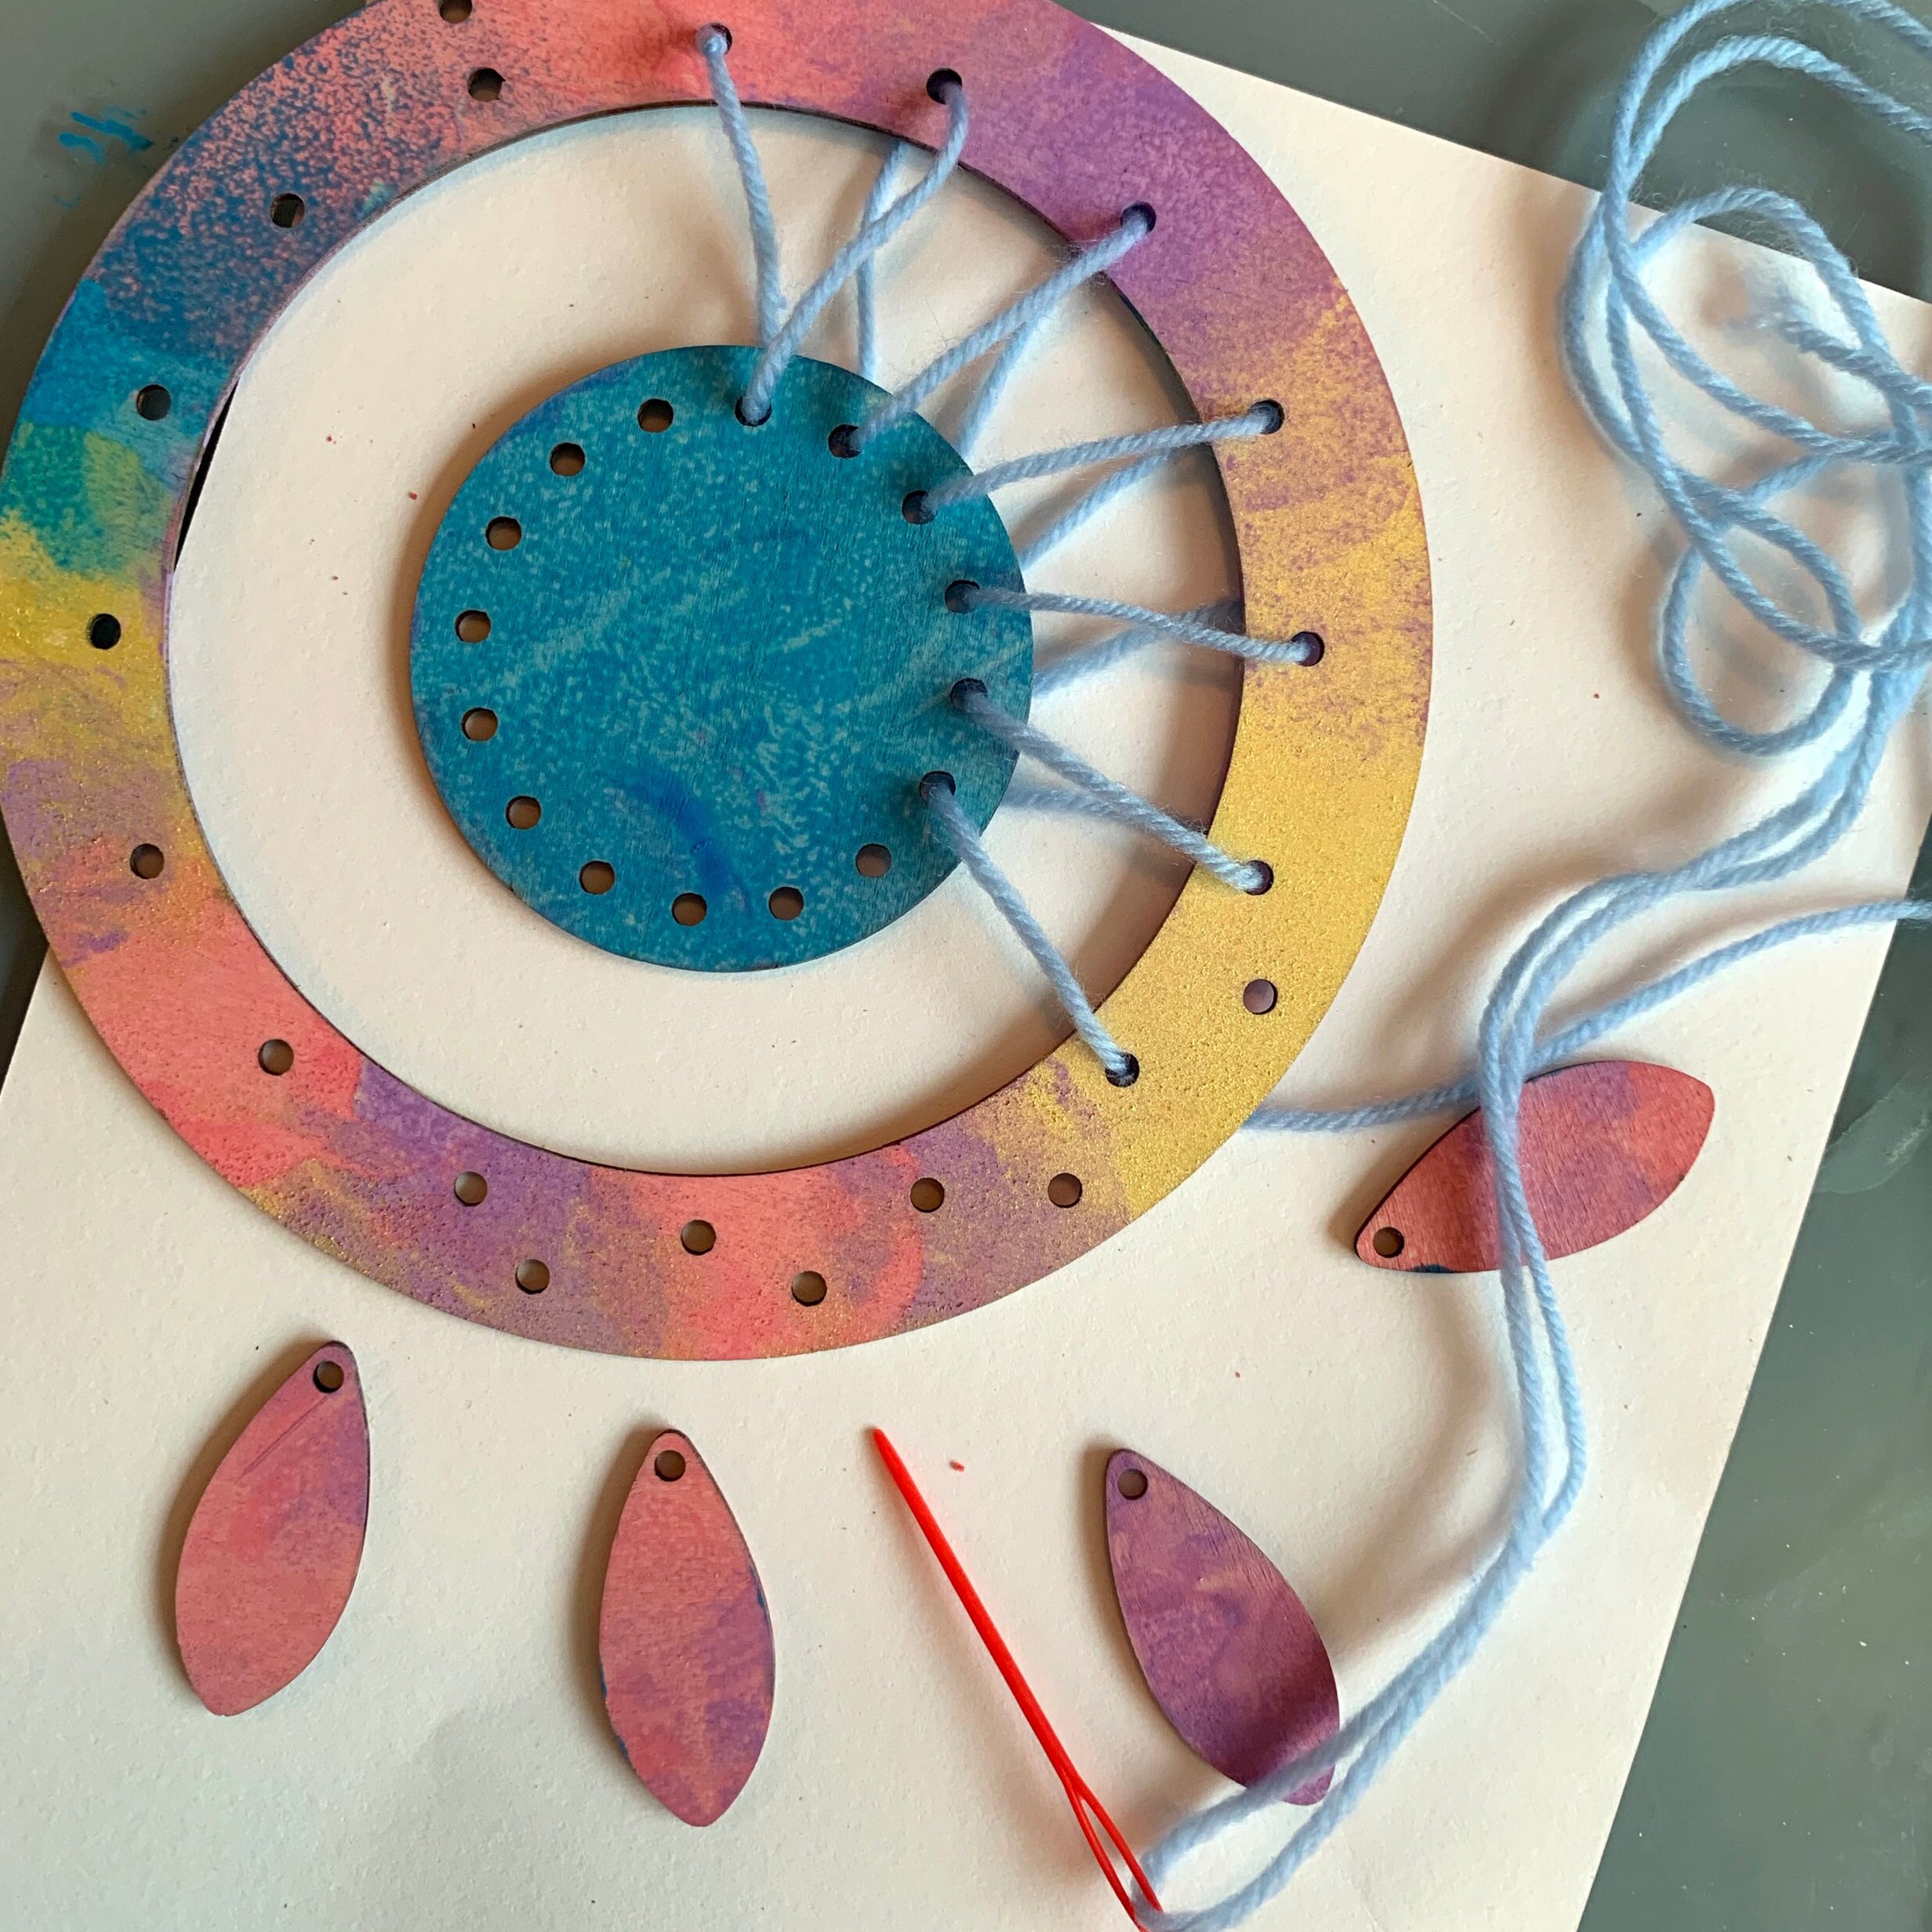
Here’s a step-by-step guide to making your very own dreamcatcher using our kit which you can find in our shop here
Step 1: Layout your wooden pieces and have your paint and brush at the ready
Step 2: Paint the wooden pieces, back and front!
Step 3: When the paint has dried, lay your pieces out like this and find your thread and needle
Step 4: Thread through a hole on the outer ring and tie it in a knot to keep the thread in place.
Step 5: Thread from outer ring to inner ring zig zagging from one to the other. Go all the way round until you get back to the start and tie another knot in the thread to secure it
Step 6: Cut the remaining thread into four strips and tie each one to the four remaining holes on the outer ring
Step 7: Thread on the beads at the bottom of the thread and tie the wooden leaf to the end to hold the beads in place
